As many of you know, I’m obsessed with keeping my brain in tip-top shape. After all, it’s my most valuable asset (and yours, too). If you’ve read my previous post on 5 Ways to Boost Your Intelligence or listened to my podcast episode on the same topic, you know that a powerful way to do this is by seeking novelty.
It’s been shown that engaging in new and unfamiliar activities, experiences, and tasks can help keep your brain sharp. Which is partly why I decided to build this bookcase from scratch:
Also, I needed a creative outlet to keep me from going insane while I write my book. As someone who makes his living on the Internet, I’ve found that tactile projects like this help to break up the intense cognitive work I do while staring at computer screens all day. In turn, these breaks help me produce better writing, probably because they give my brain a chance to rest and see things from a different perspective.
Restriction fuels creativity
This project was also a lesson in the creative process itself. It reminded me how crucial restriction is to creativity. This is true whether you’re creating something tangible like a bookcase or abstract like ideas in a book.
Thinking that you can do anything tends to kill creativity and stifle the imagination. Having endless options available to you can be overwhelming and even paralyzing. Psychologist Barry Schwartz called this phenomenon The Paradox of Choice. The truth is, restrictions make you more inventive and force you to think differently, which leads to better output.
I had many restrictions while building this bookcase, some self-imposed, others due to the nature of the project. If you want to know more about these restrictions and the process involved in making this bookcase, keep reading. If not, this is where your journey ends.

The Process
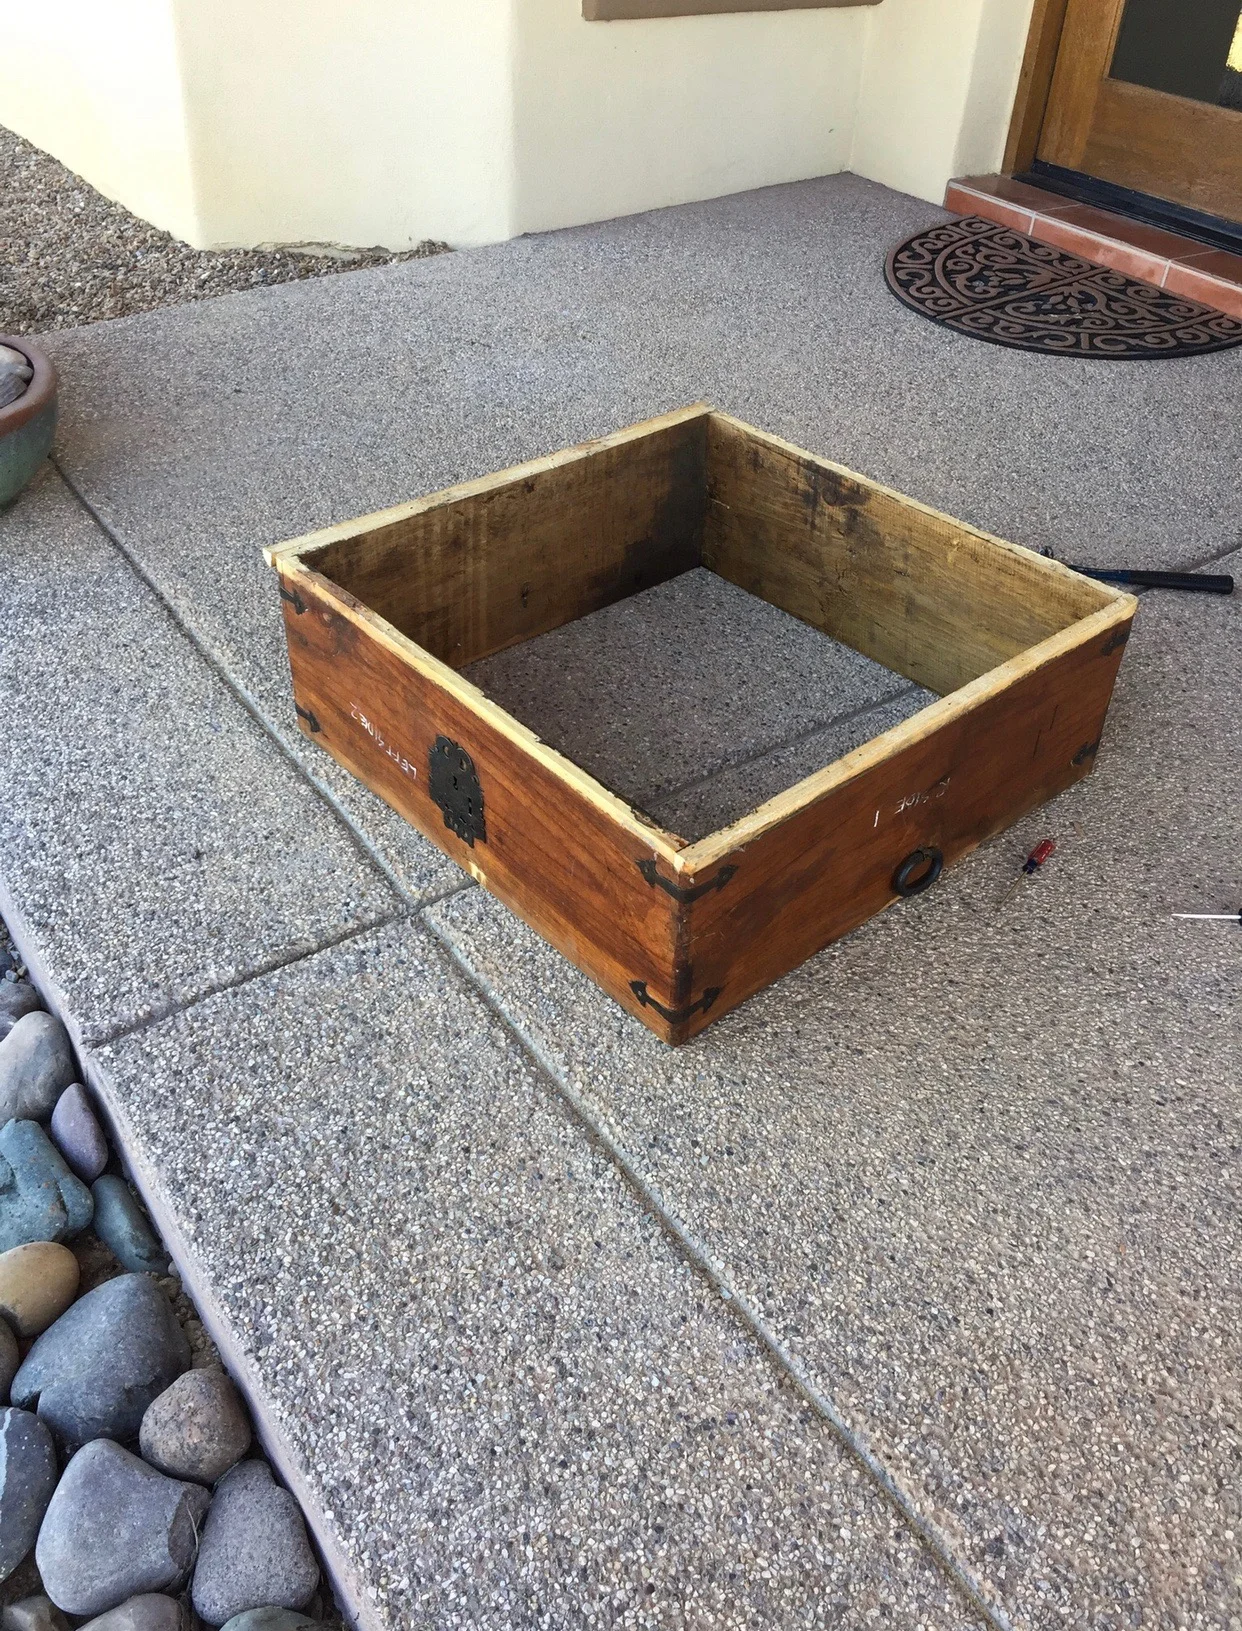
This bookcase began its life as a humble coffee table in our living room. It was the first piece of furniture that my wife, Vanessa and I purchased together as a couple. We got it on Craigslist for $50.

One day, it occurred to me that I had way too many books scattered throughout the house. I started to browse the Internet for a bookcase to buy but then had another idea:
“What if I made one instead? I wouldn’t even need to buy materials, I’ll just repurpose the wood from this old coffee table!”
What I thought would take me a few hours and no money turned into a year-long project that ended up costing me a couple hundred bucks. Here’s how I did it, broken down into 12 “simple” steps.
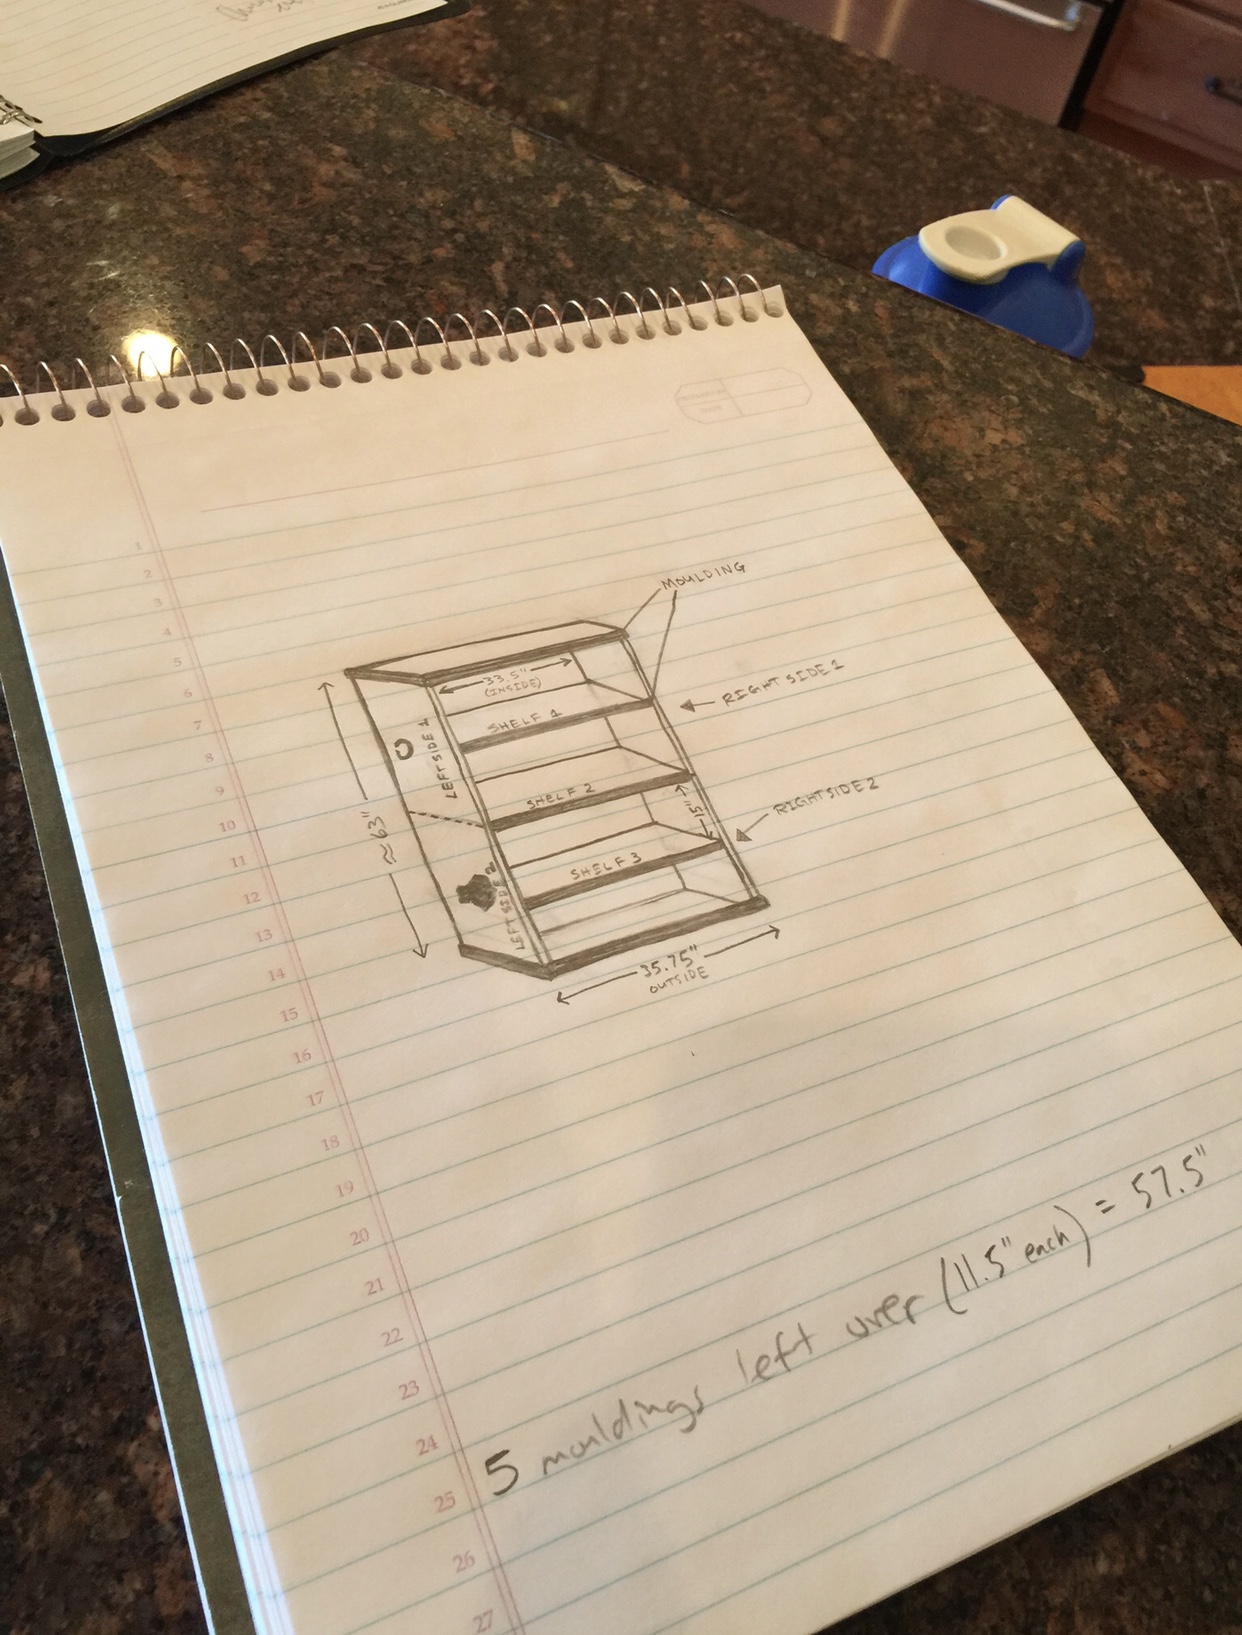
STEP 1:
I took some measurements and drew up some plans.
STEP 2:
Then I began to deconstruct the table, taking extra care to preserve all the pieces. This took several days and lots of elbow grease because everything was held together with an absurd amount of nails and glue.
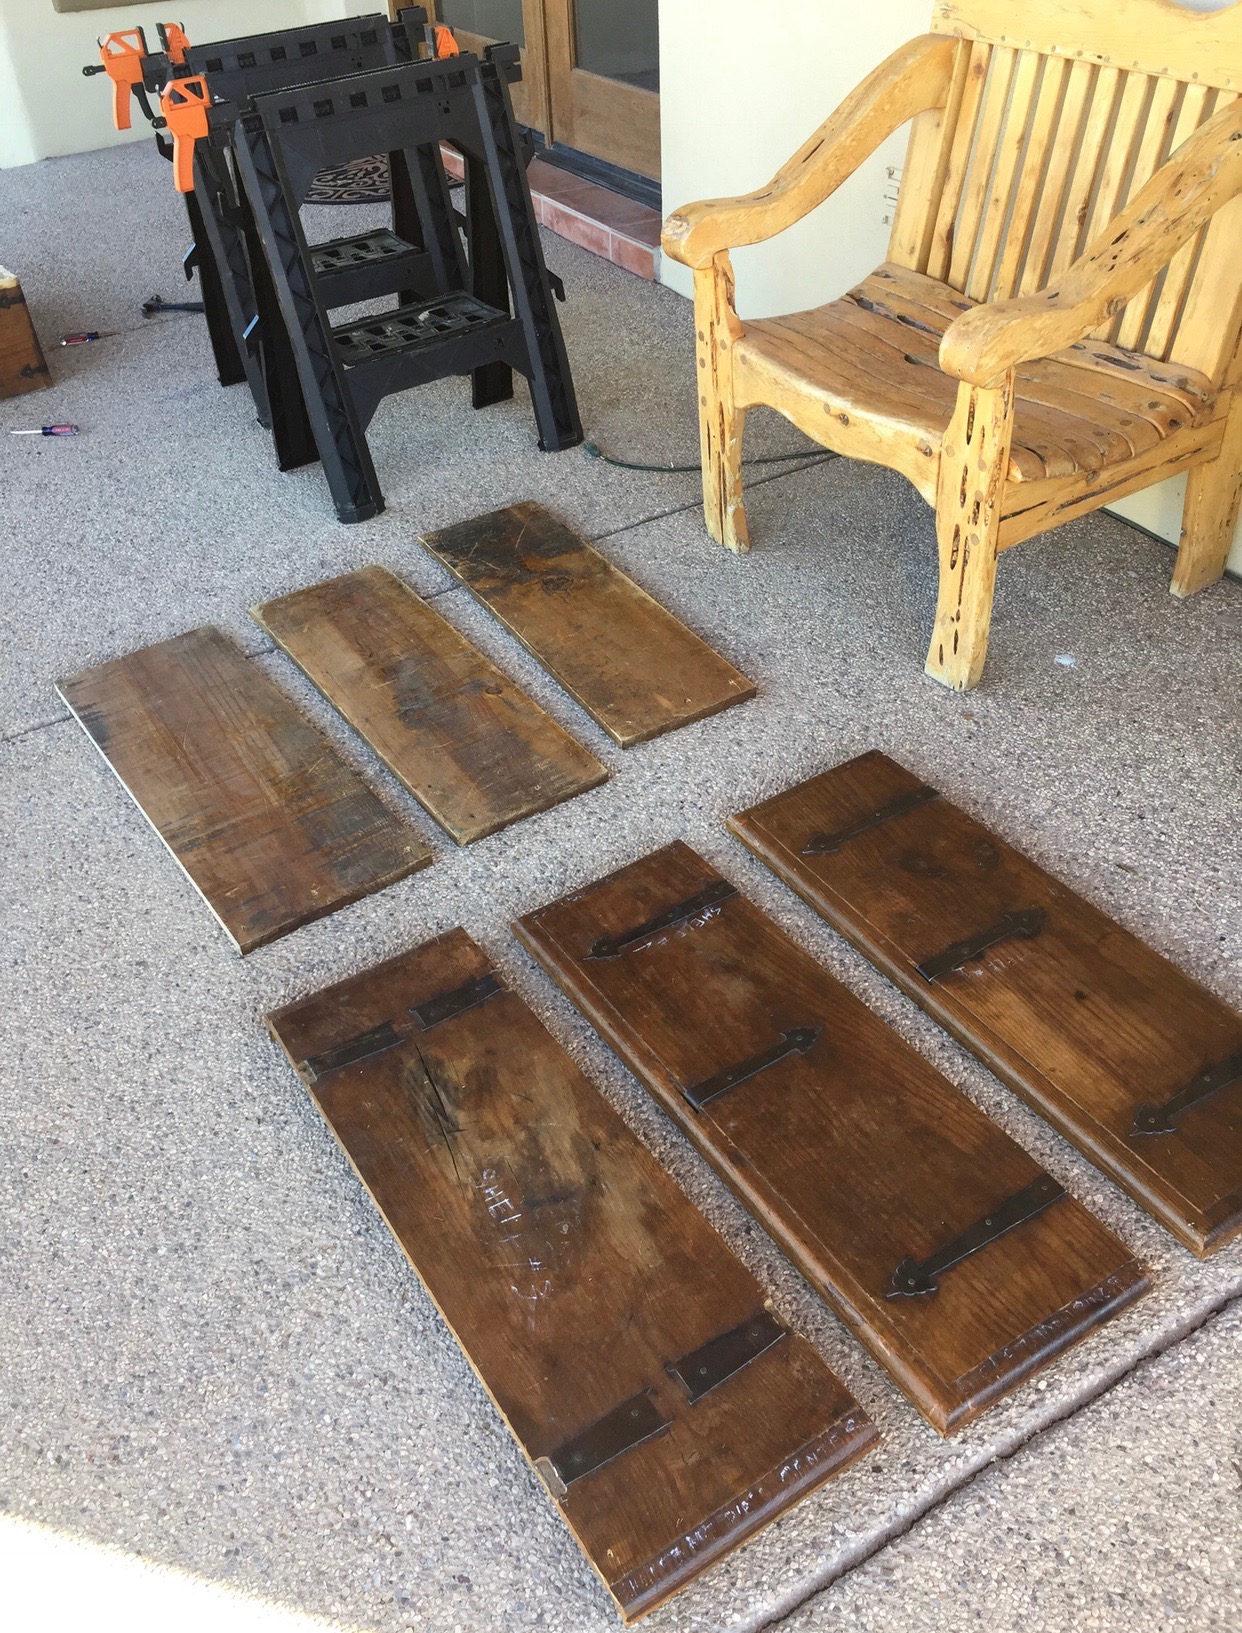
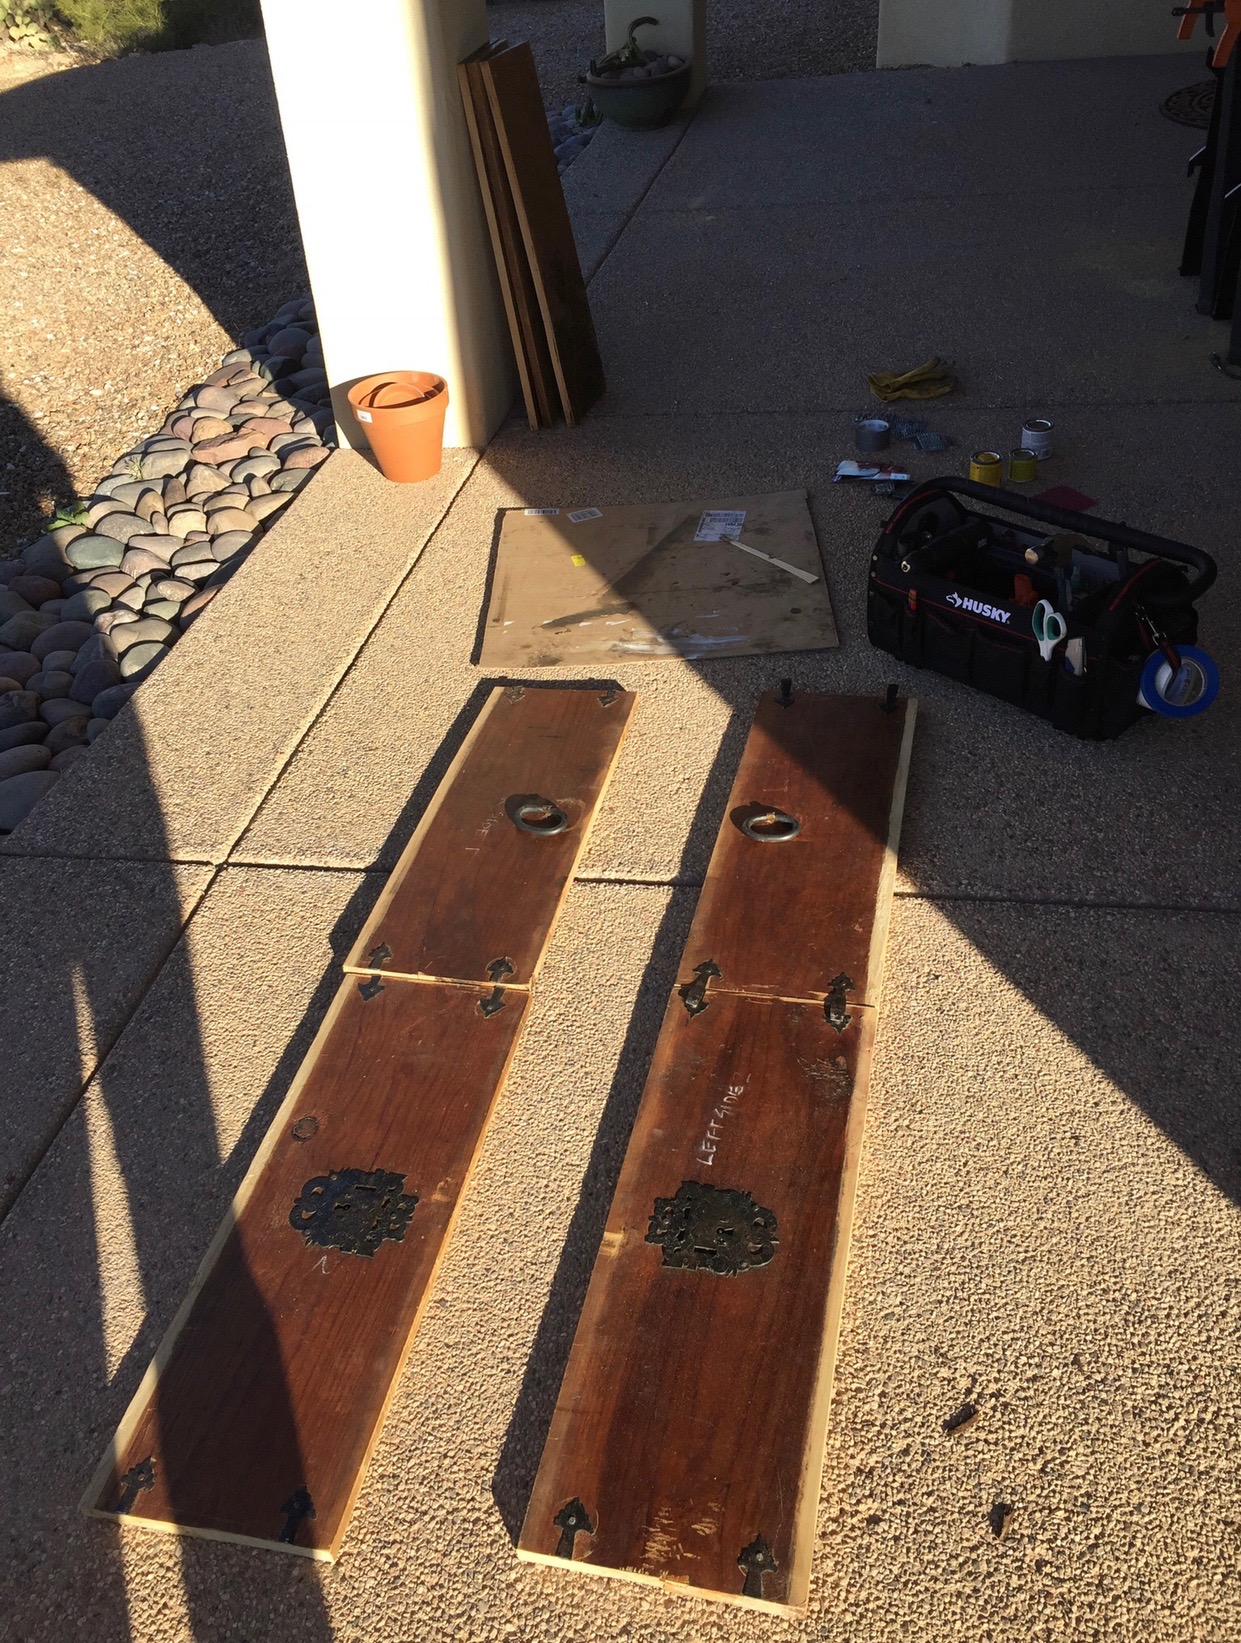
STEP 3:
Next, I had to reconstruct the broken moldings, since many of them had broken during the deconstruction process. One of my self-imposed restrictions was that I would only use wood from the coffee table to build the bookcase so I painstakingly glued all the broken trim back together like an obsessed archaeologist. This took a lot of time. And patience. (The below photos were taken after I had already glued many of the pieces together.)


STEP 4:
Then I measured and cut all the boards down to size…by hand. Another restriction I created for myself was that I would do this project without any power tools. This made it extra challenging. It turned out, I didn’t have many tools so I spent a good amount of time and money at Home Depot.
The hardest part here was cutting through the metal ornamentation and the dozens of nails I was unable to extract from the wood. Adding to this challenge was the fact that most of the pieces were warped due to age. All in all, this step took me a couple weeks.
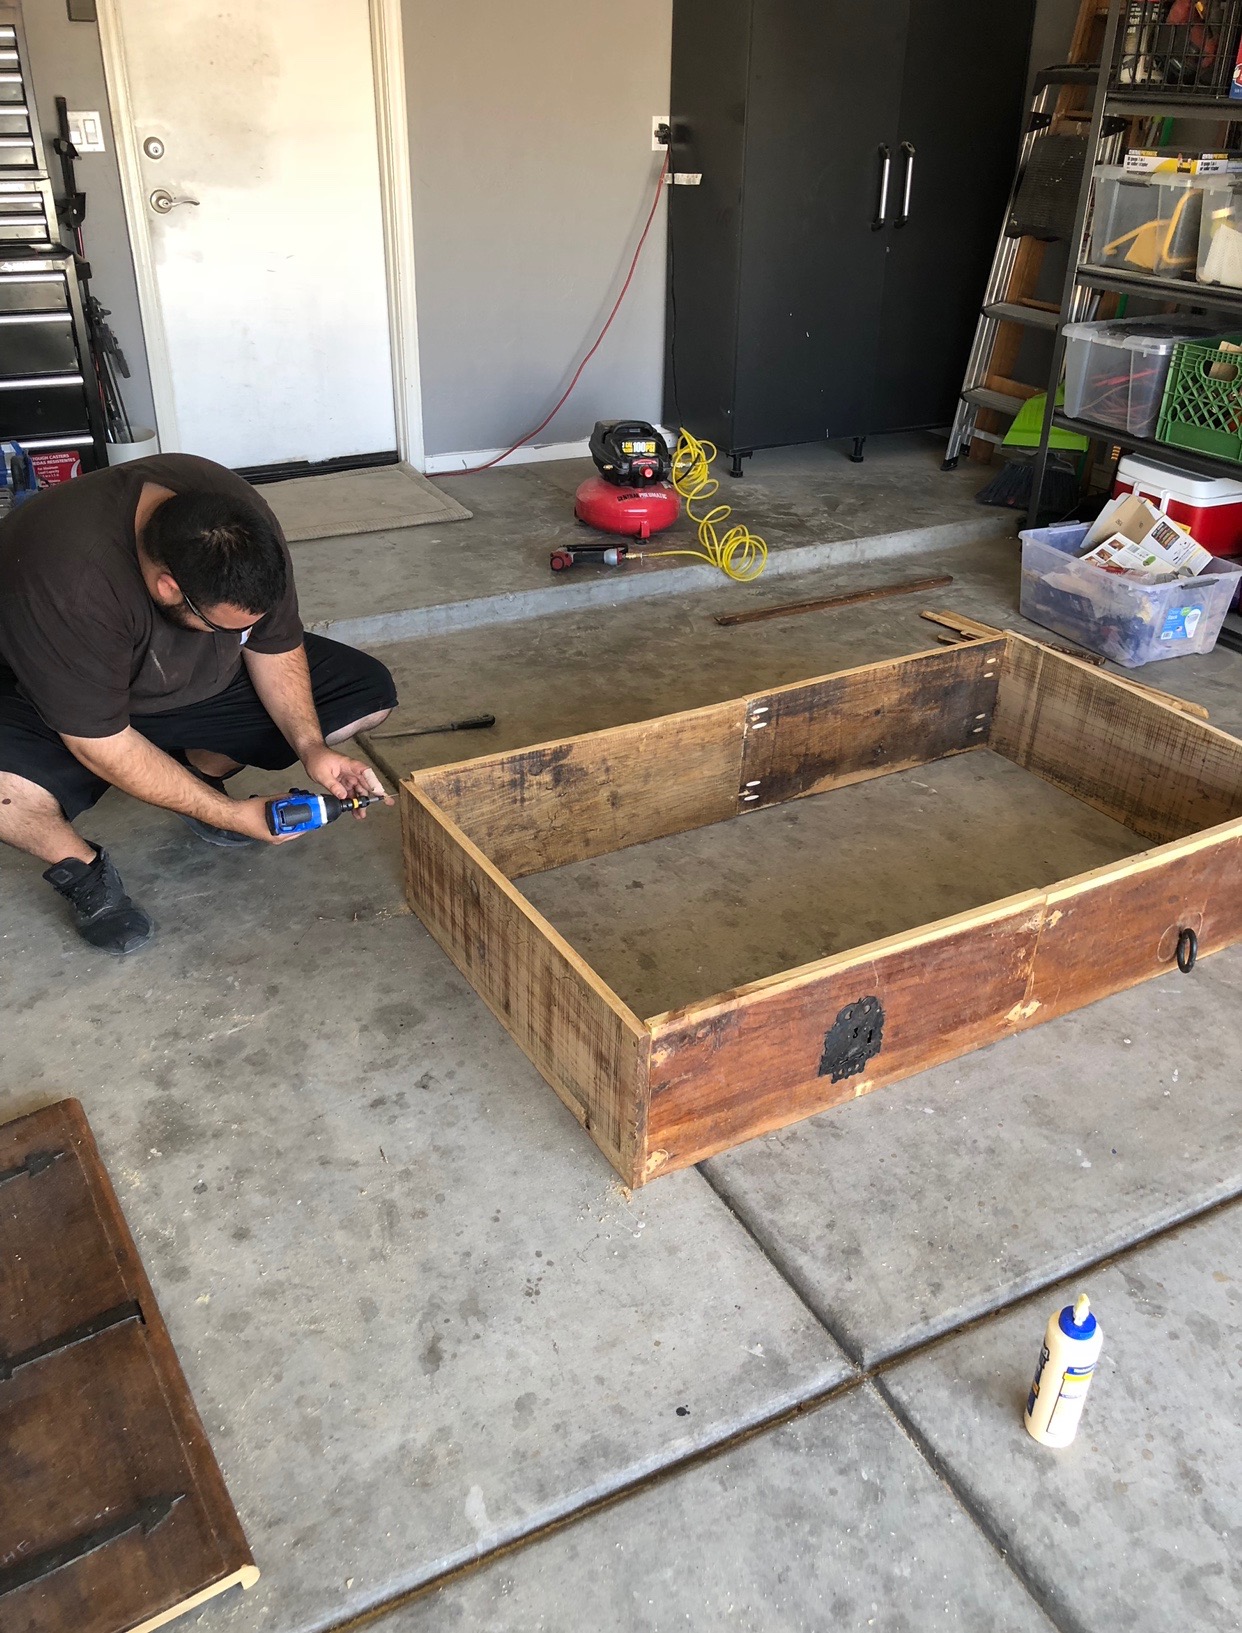
STEP 5:
Then, with some help from my brother, we began constructing the frame of the bookcase.

He broke my “no-power-tool” rule by using a drill, but it’s all good ;-)
STEP 6:
Next, we added the shelves…
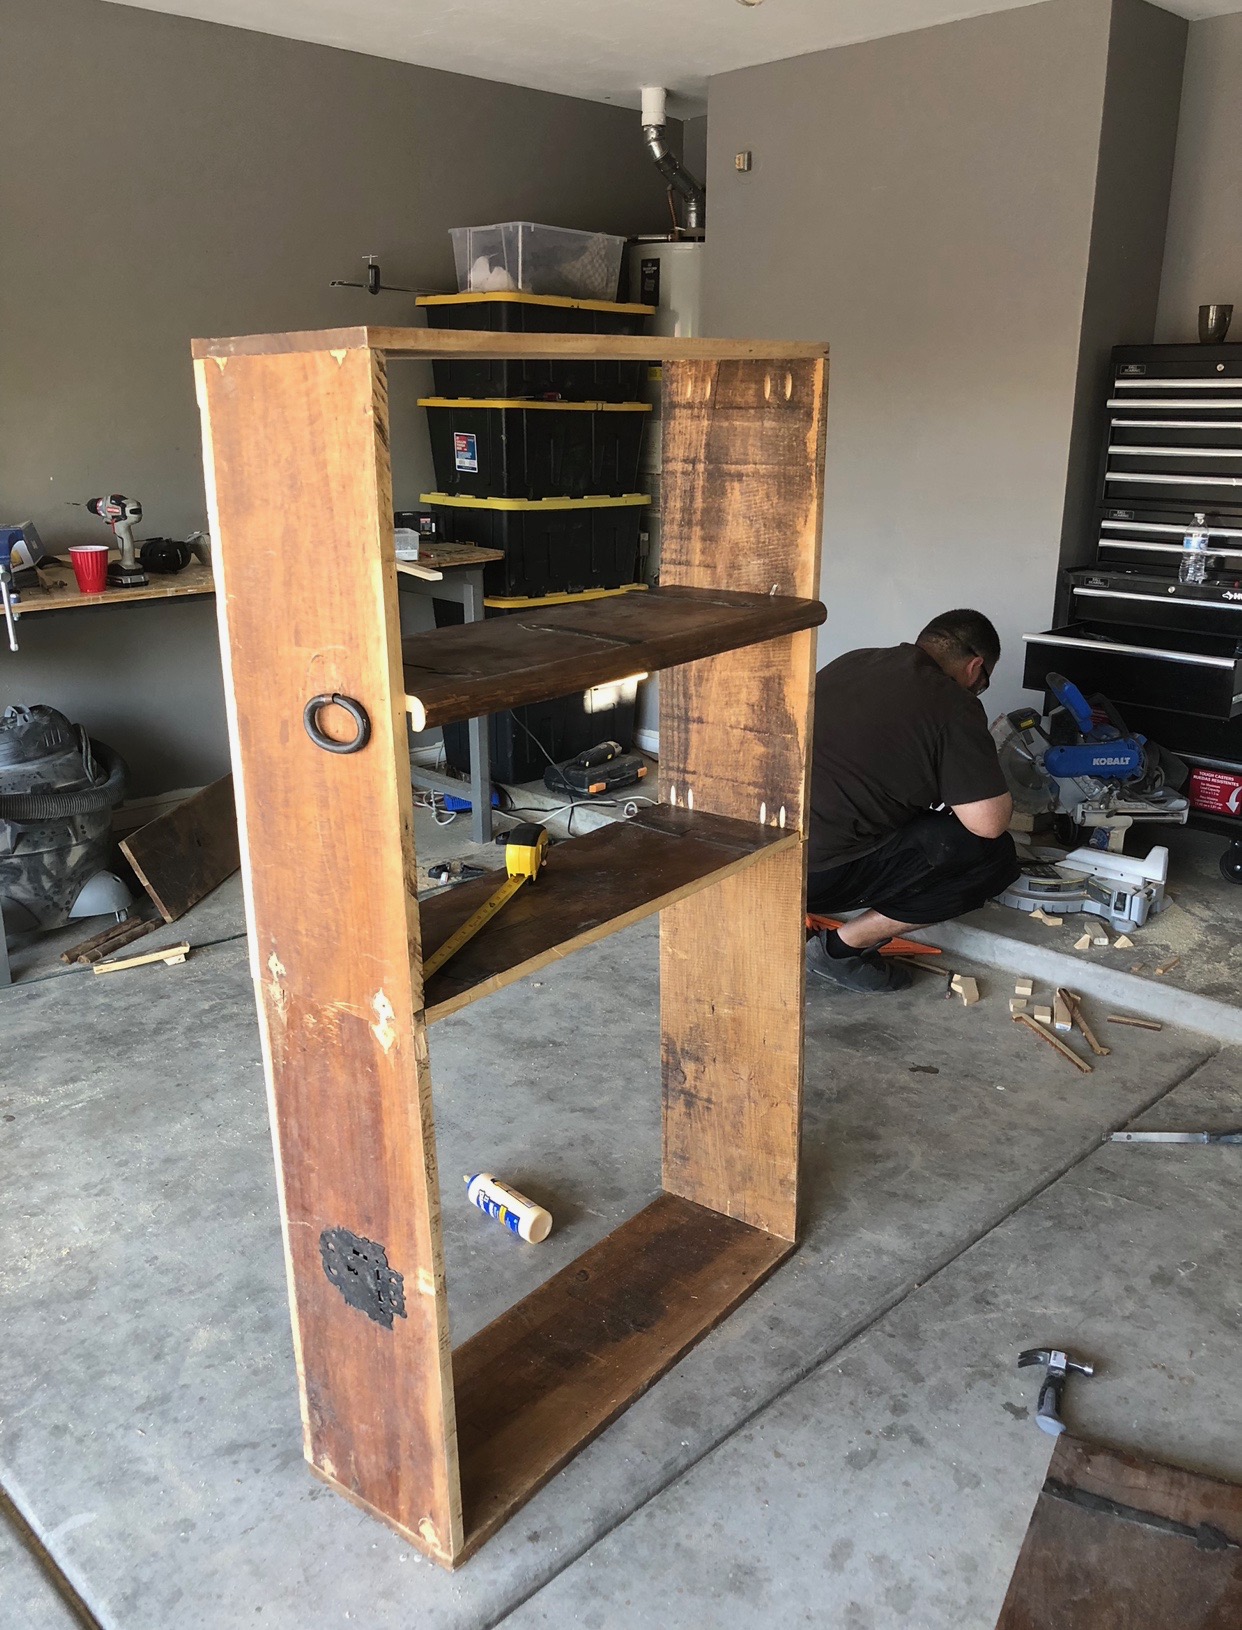
This thing was starting to look like a bookcase!

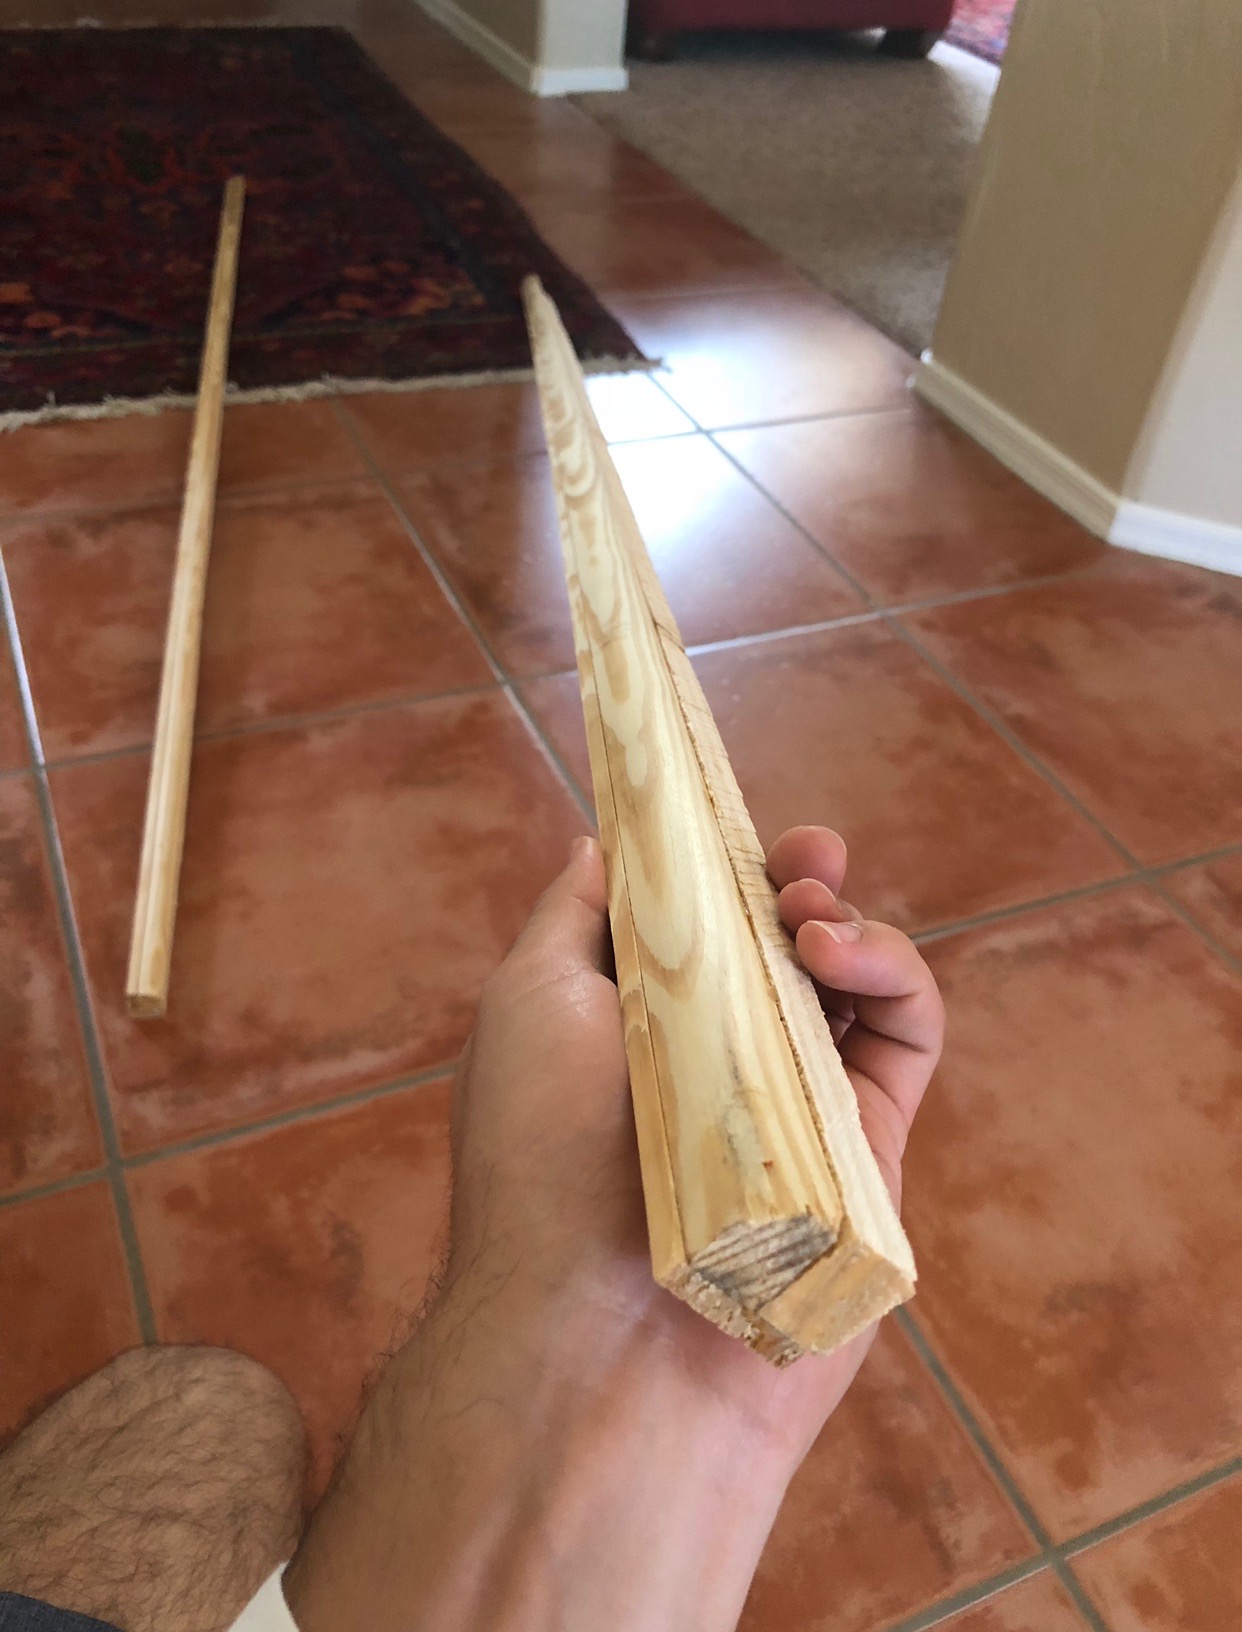
STEP 7:
Unfortunately, there weren’t enough intact original moldings to cover all the edges, so I meticulously handcrafted some custom moldings to match the originals. (This technically broke my rule of only using only the wood from the original bookcase but hey, rules are made to be broken.)
STEPS 8, 9 & 10:
At this point, I attached the new moldings, filled in all the damaged/uneven parts with wood filler, and sanded the whole thing down. I also bought some cedar planks and added them as a backing to the bookcase. (I know, I know, I’m breaking my rules left and right. Sue me.)
This stage was surprisingly laborious and took another couple of weeks. But I could now see the light at the end of the tunnel!

STEP 11:
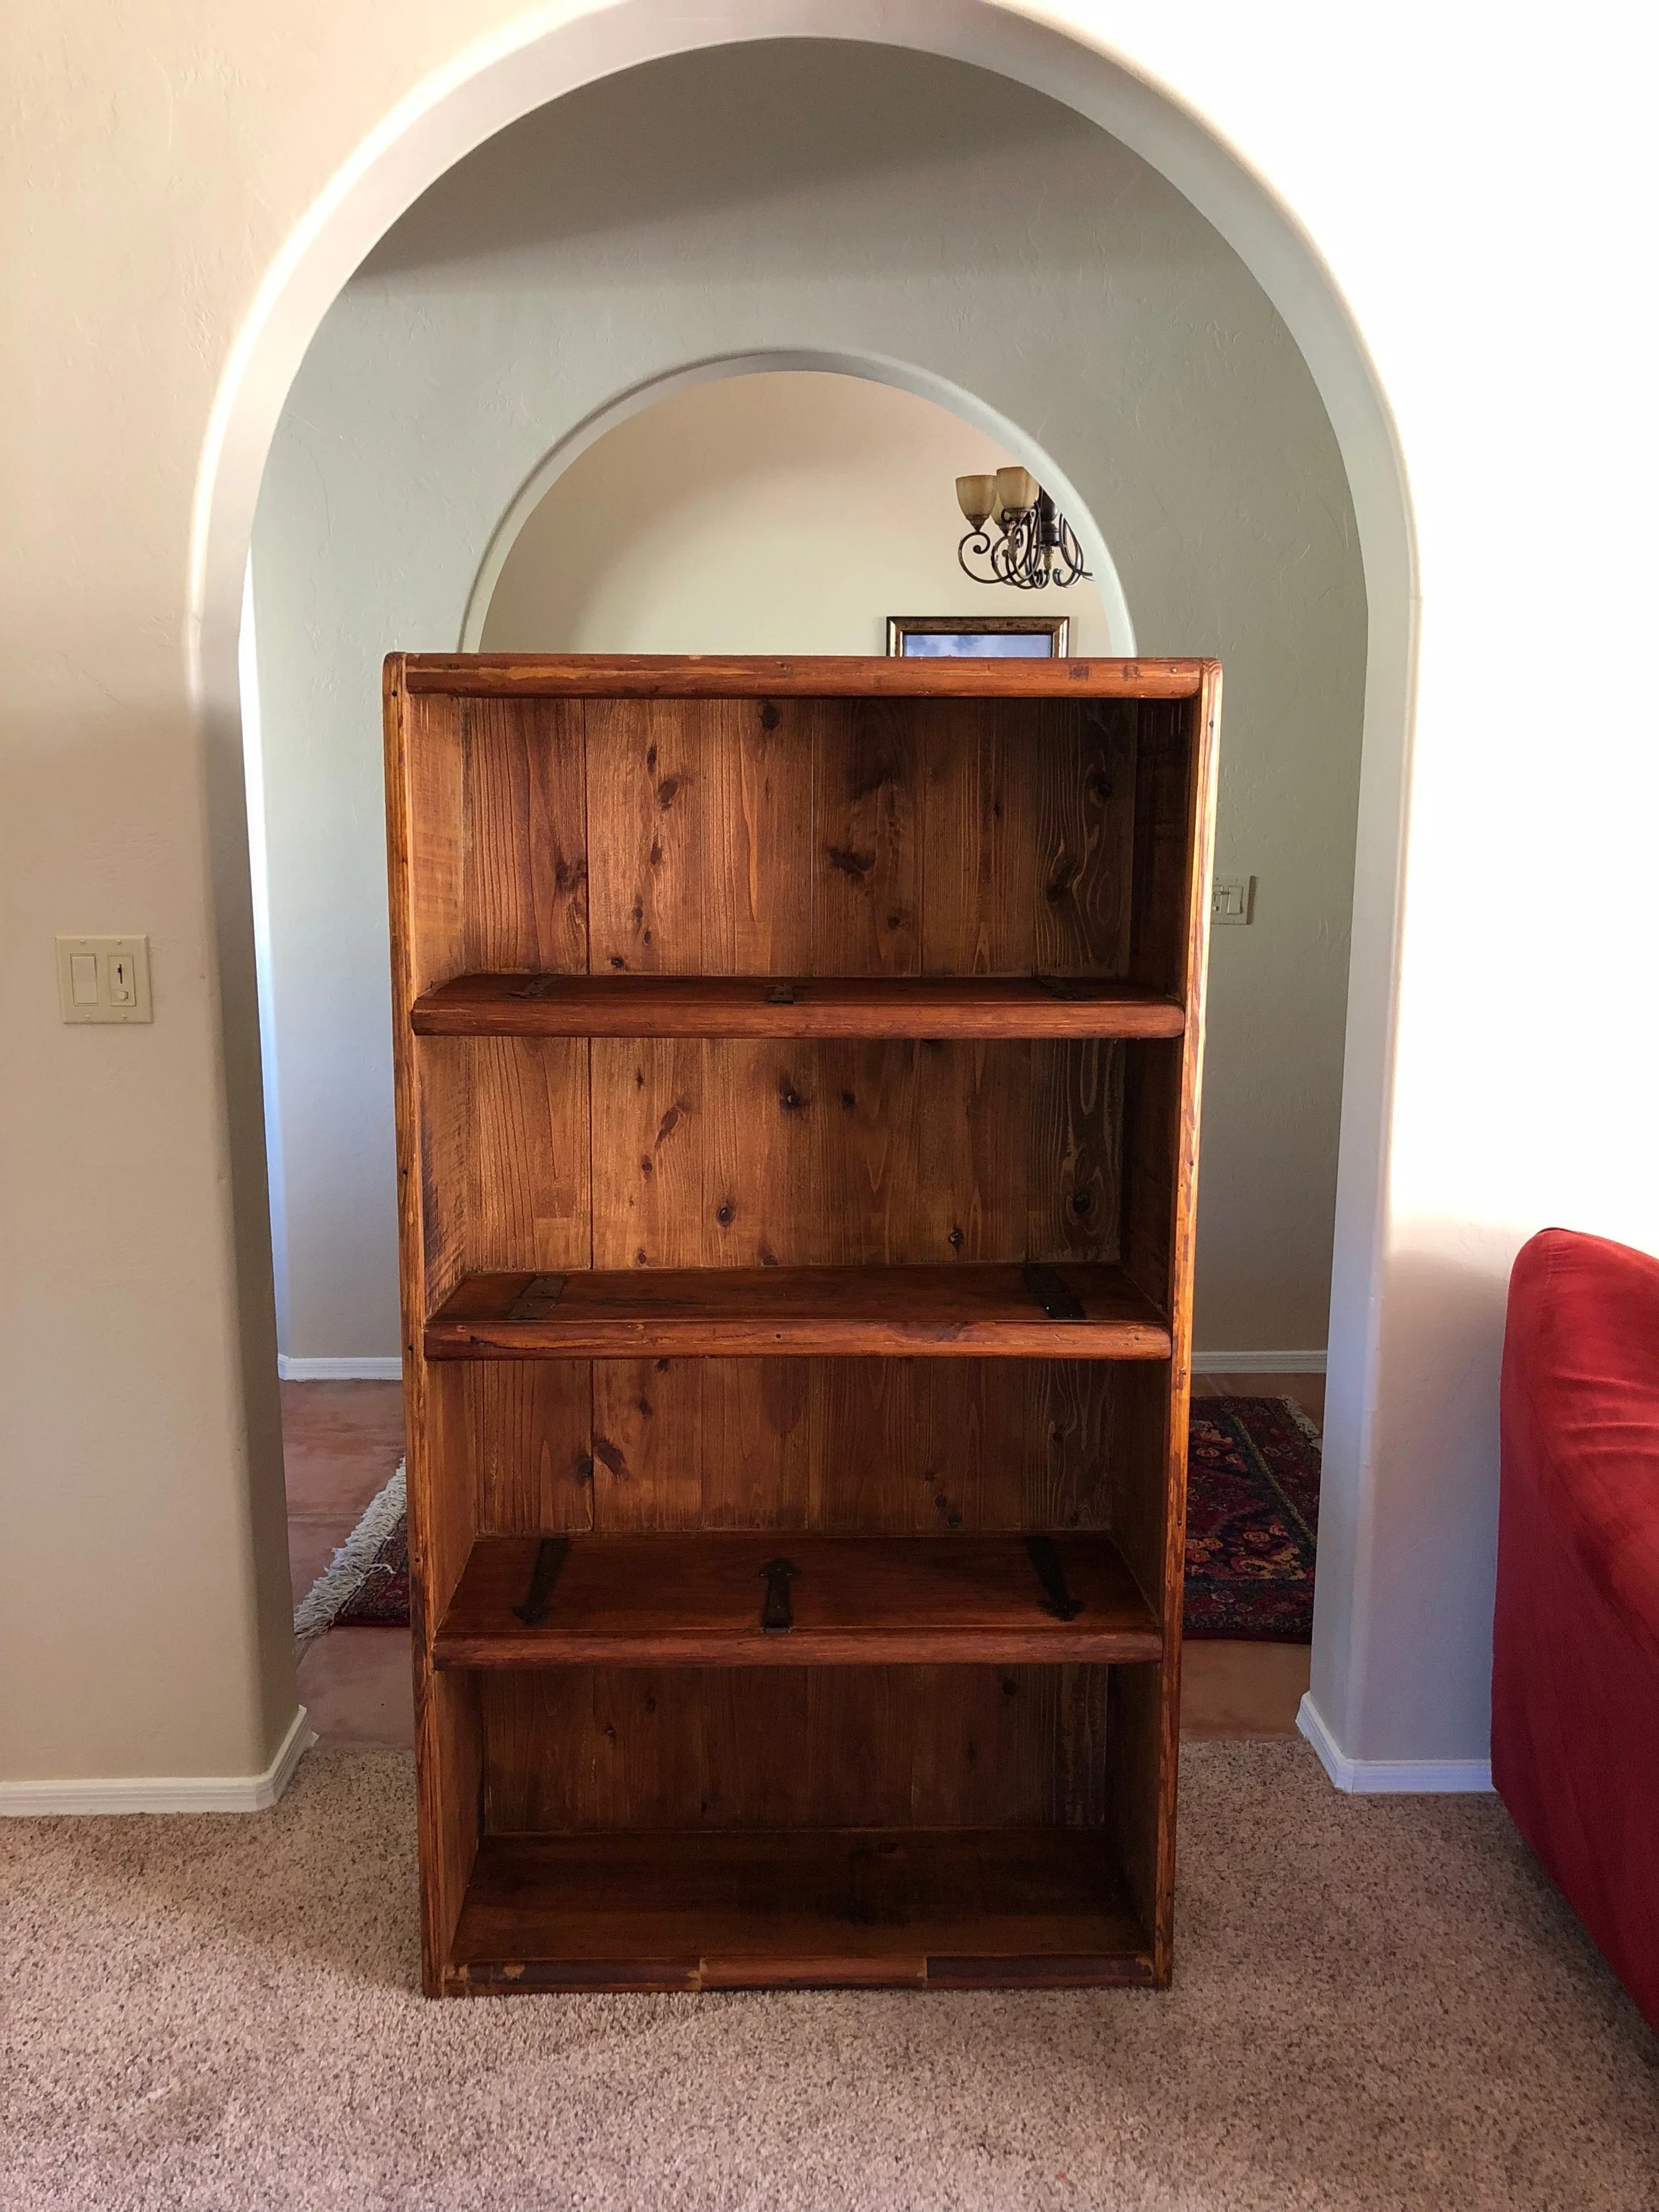
All I needed to do now was stain and finish the bookcase.
Vanessa and I generally have a no-toxic-chemicals rule in our household and the fact that we have a baby on the way has only made us more aware of the kinds of products we use. Since we didn’t want to use any toxic paints or finishes, we stained it using instant coffee! Honestly, we were surprised at how well the coffee took to the wood. (Bonus: it smells fantastic).

STEP 12:
Finally, we finished it with a couple coats of all-natural Danish oil (which is basically just processed flax seed oil).
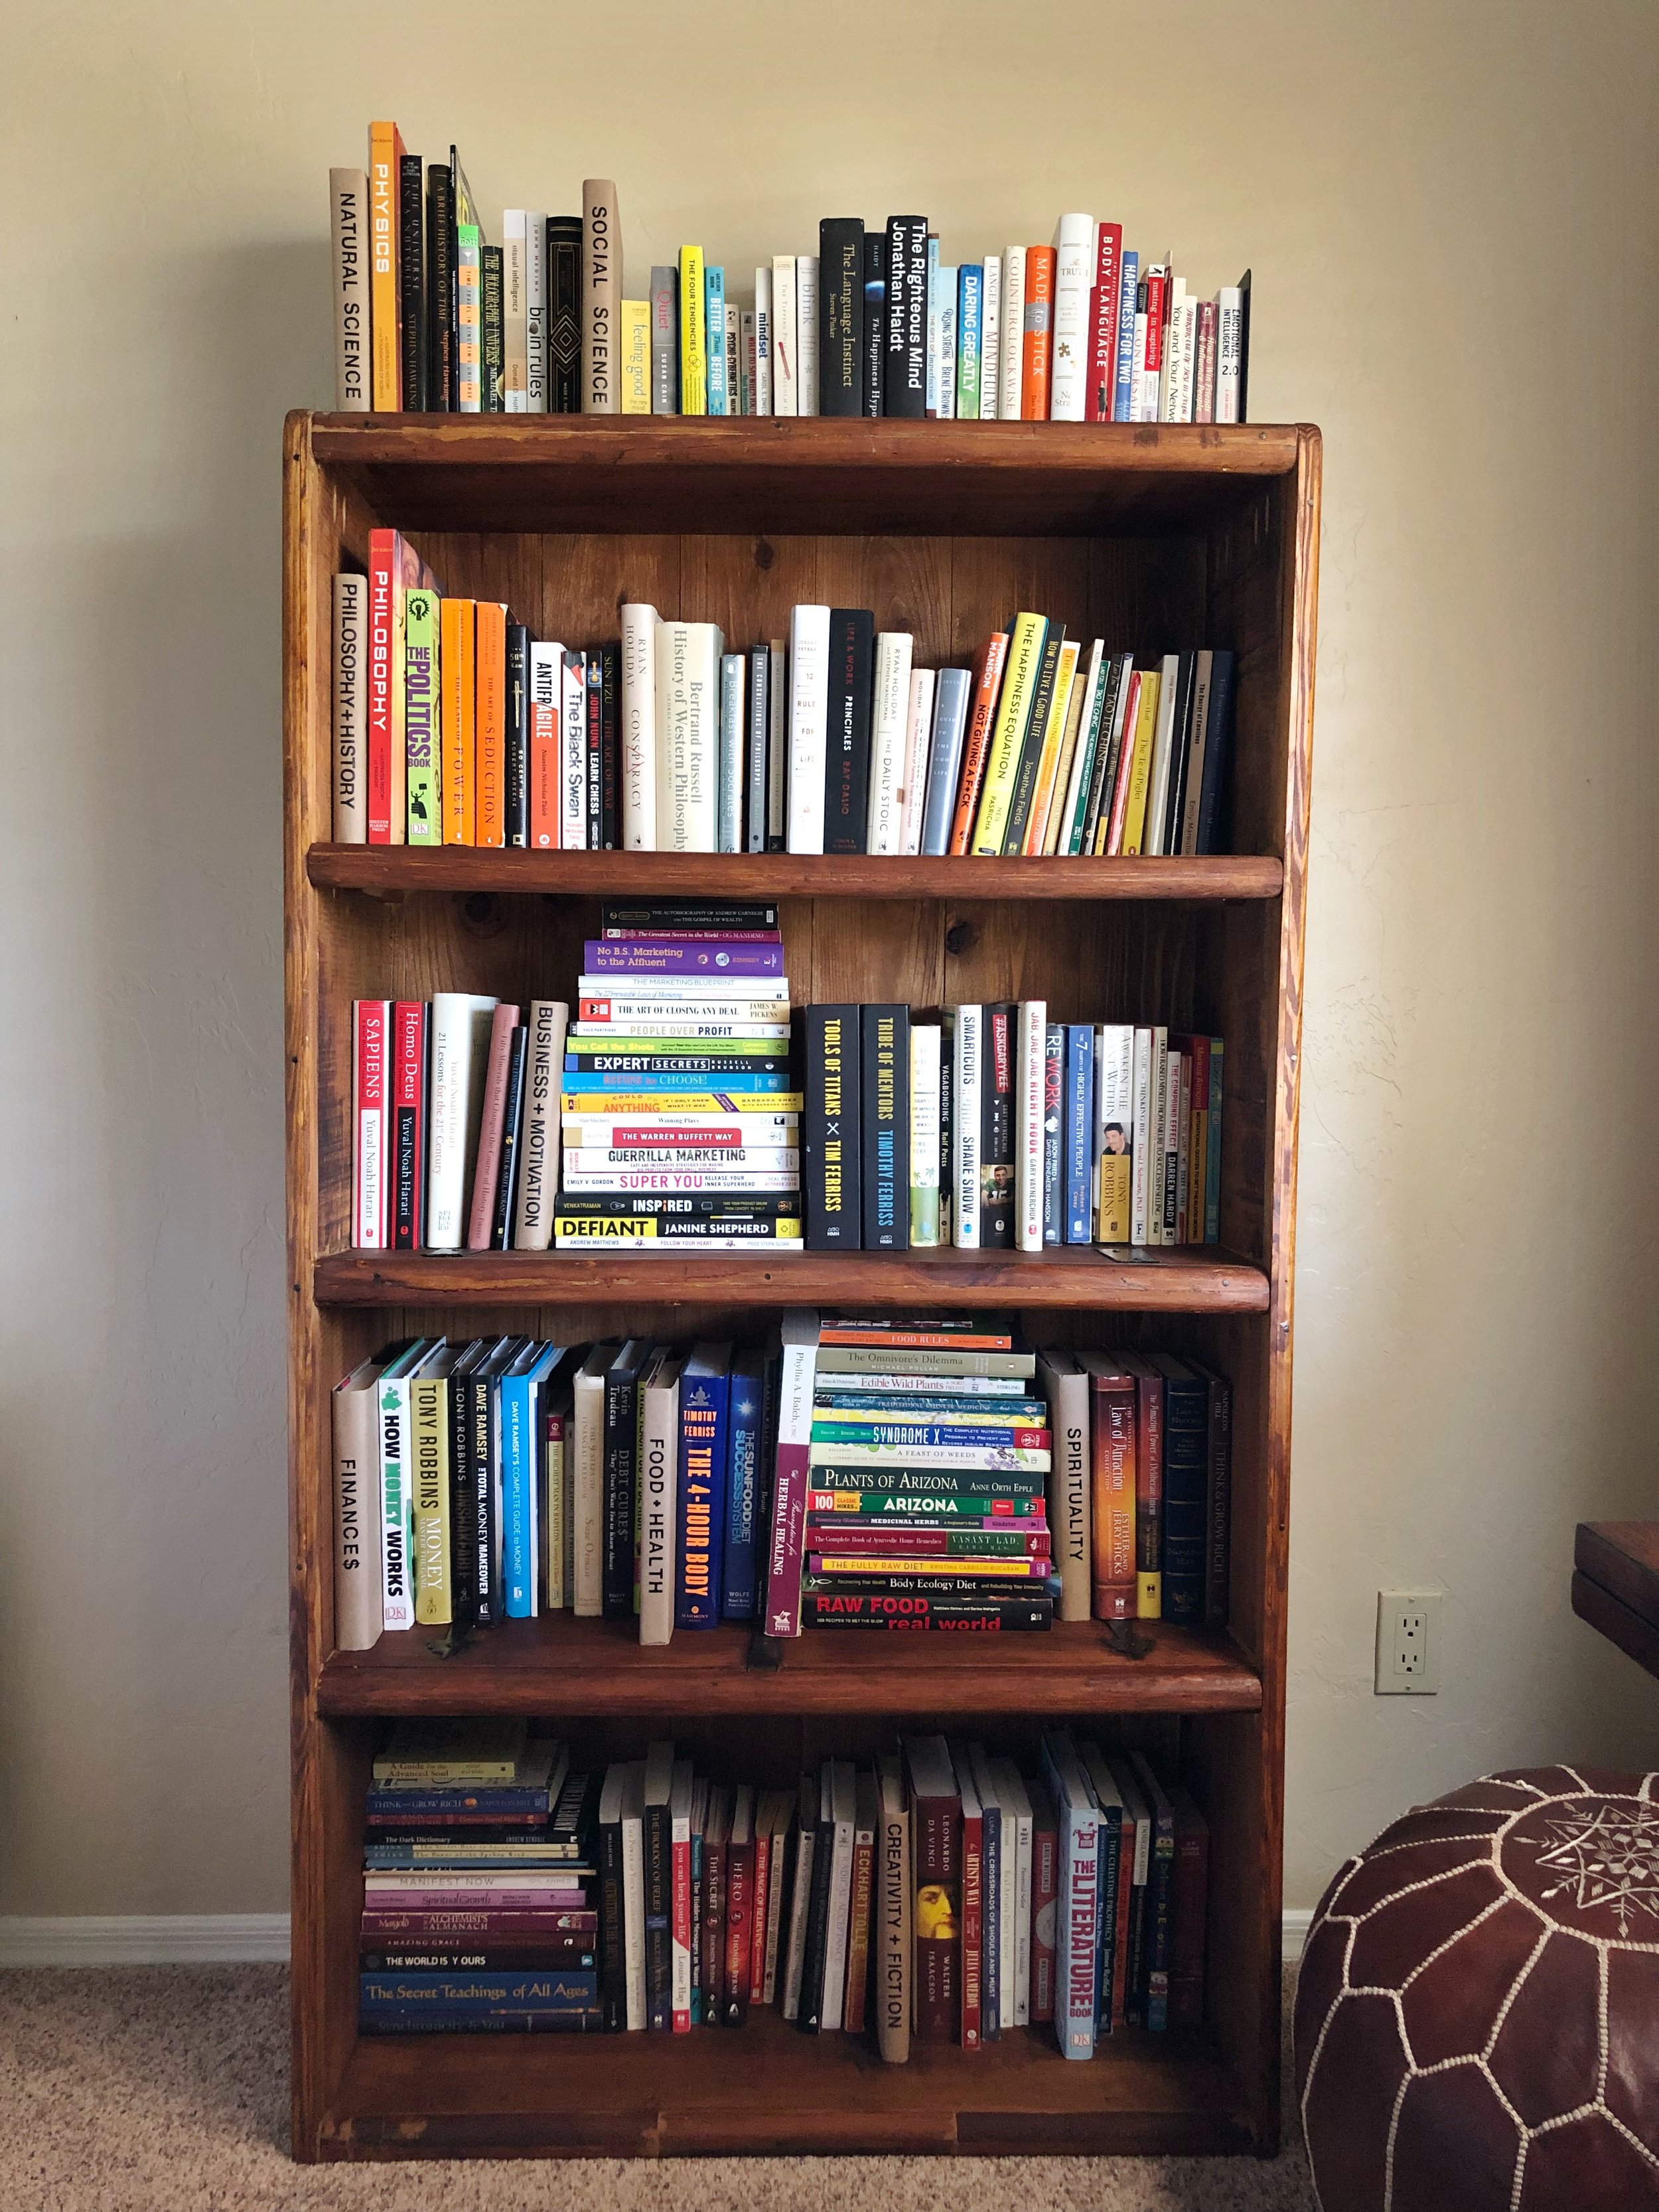
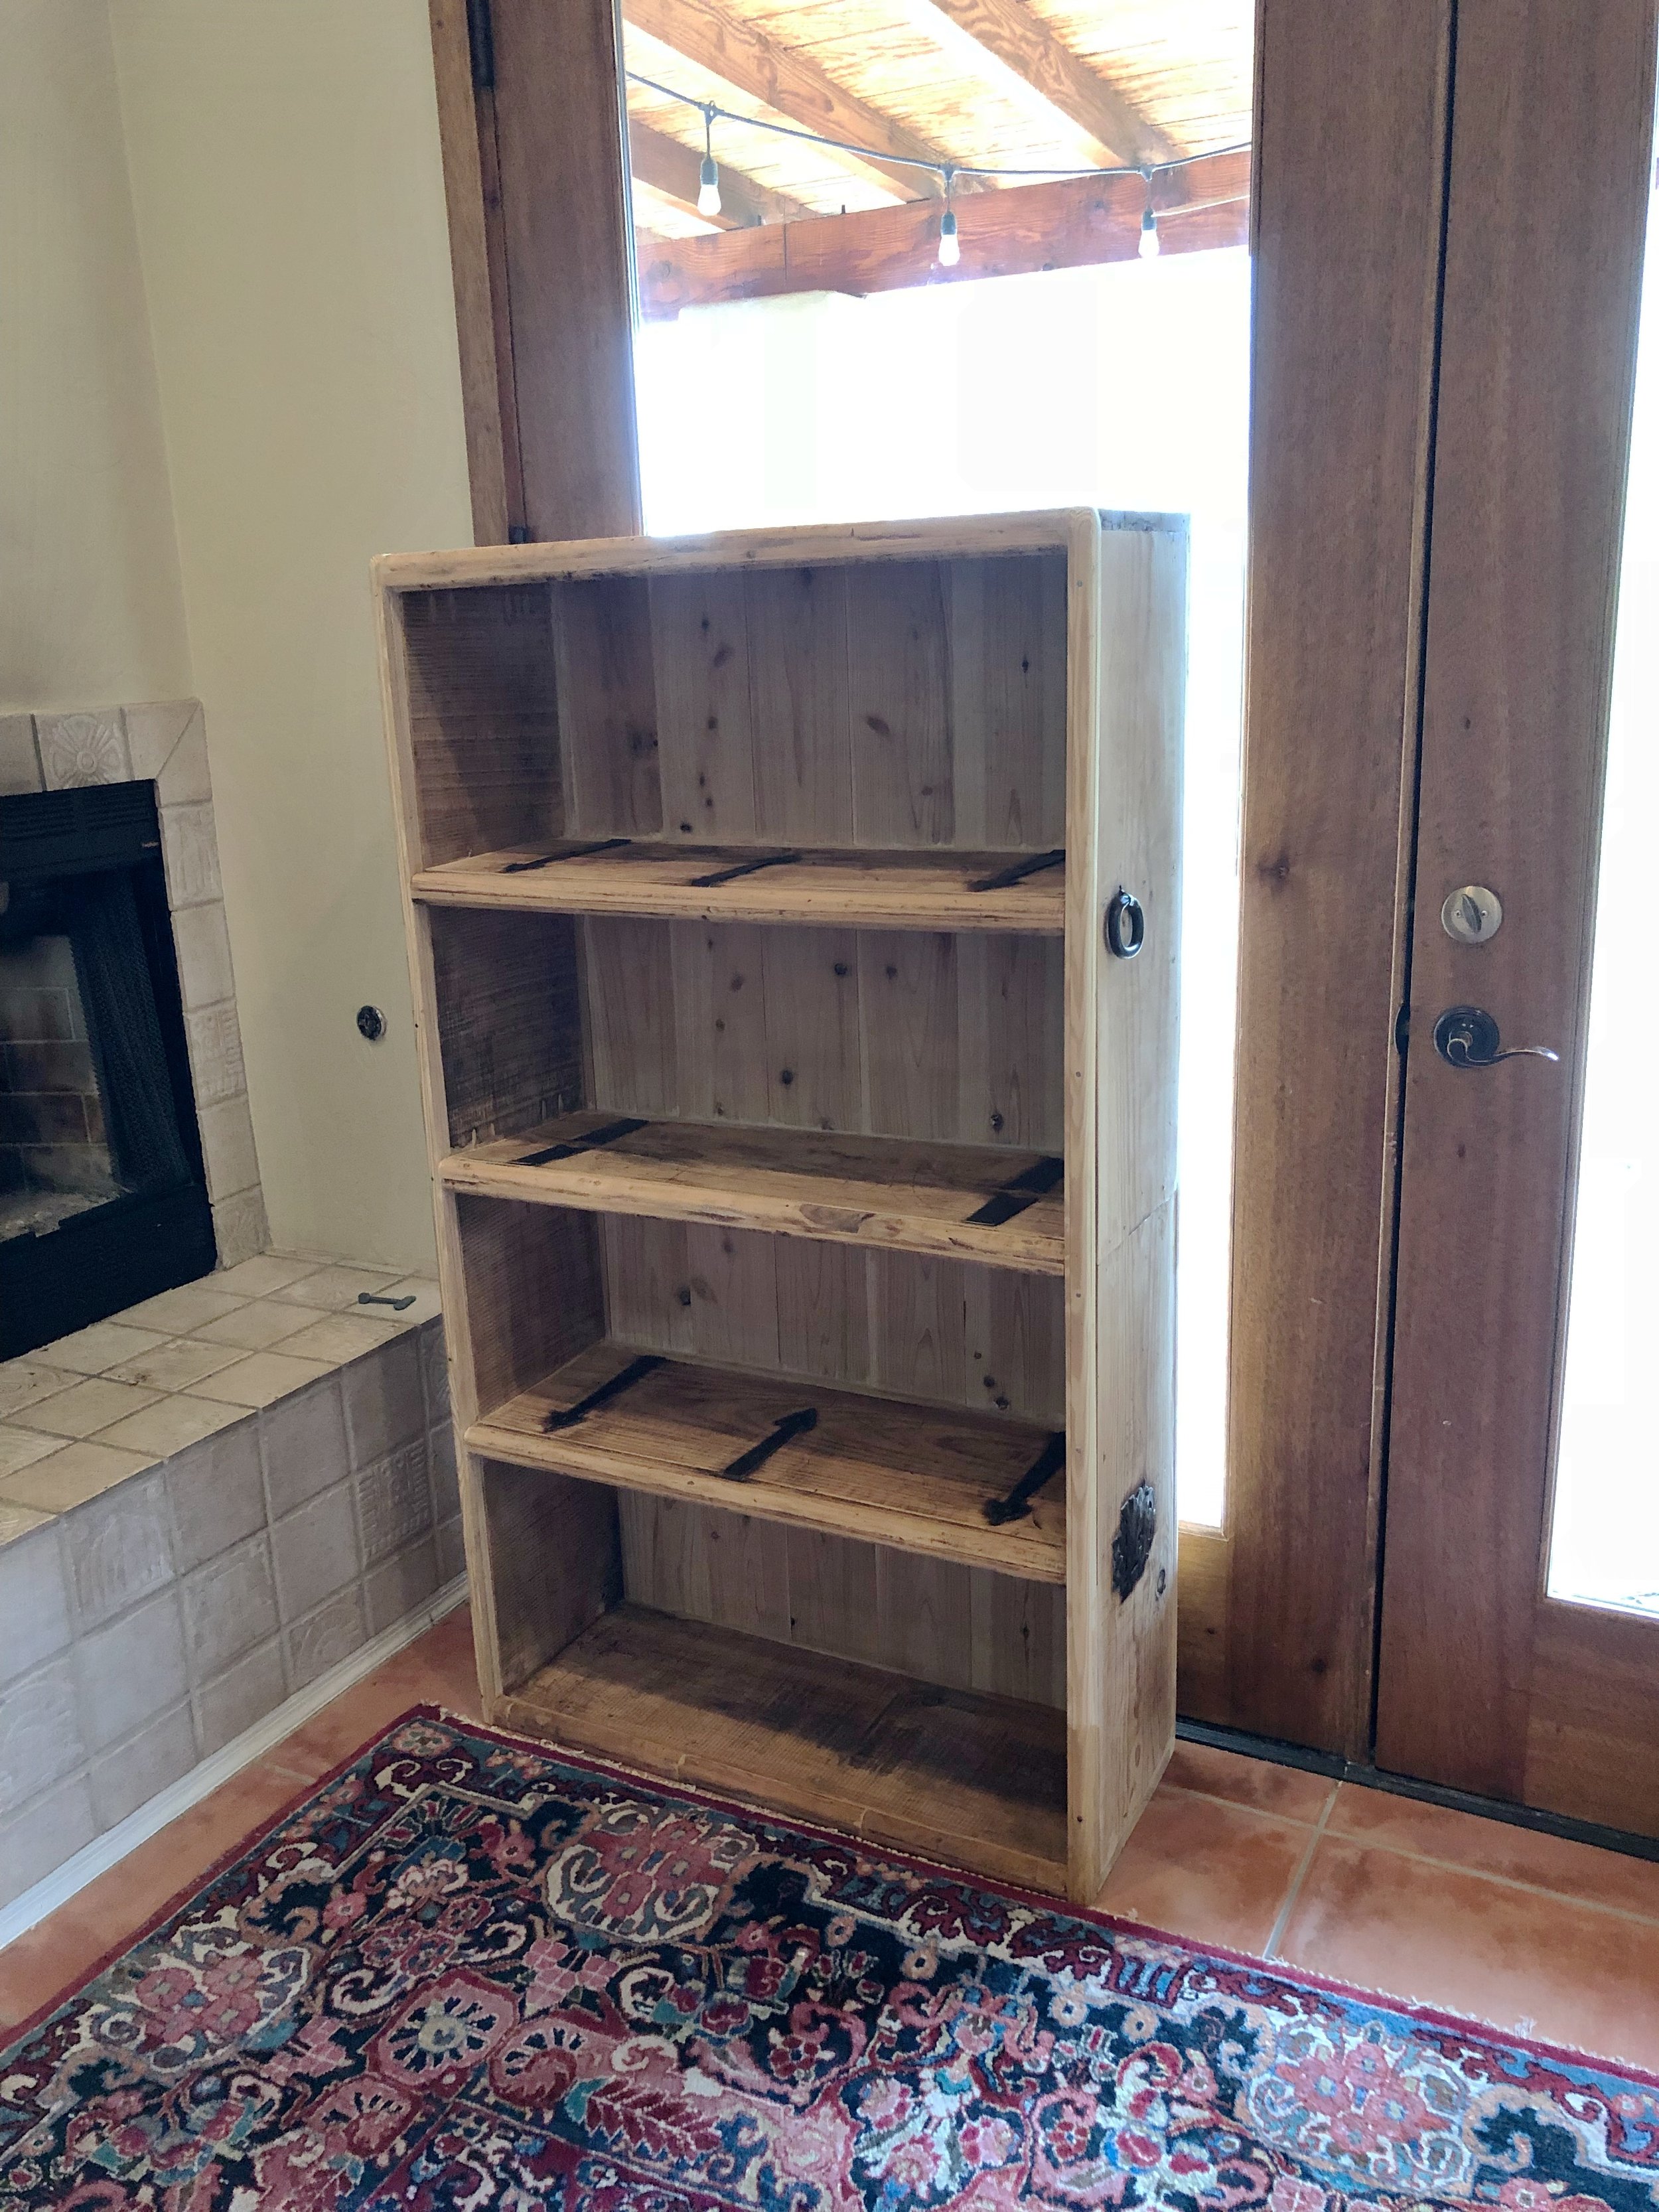
And Voila! A bookcase that looks great (and that can be safely licked).

Final Thoughts
This project probably took me 100+ hours, partly because I had so many restrictions/obstacles and partly because it was my first real woodworking project. Regardless, it was well worth it. I had a lot of fun and now have a bookcase that holds the majority of my books. Good things take time.